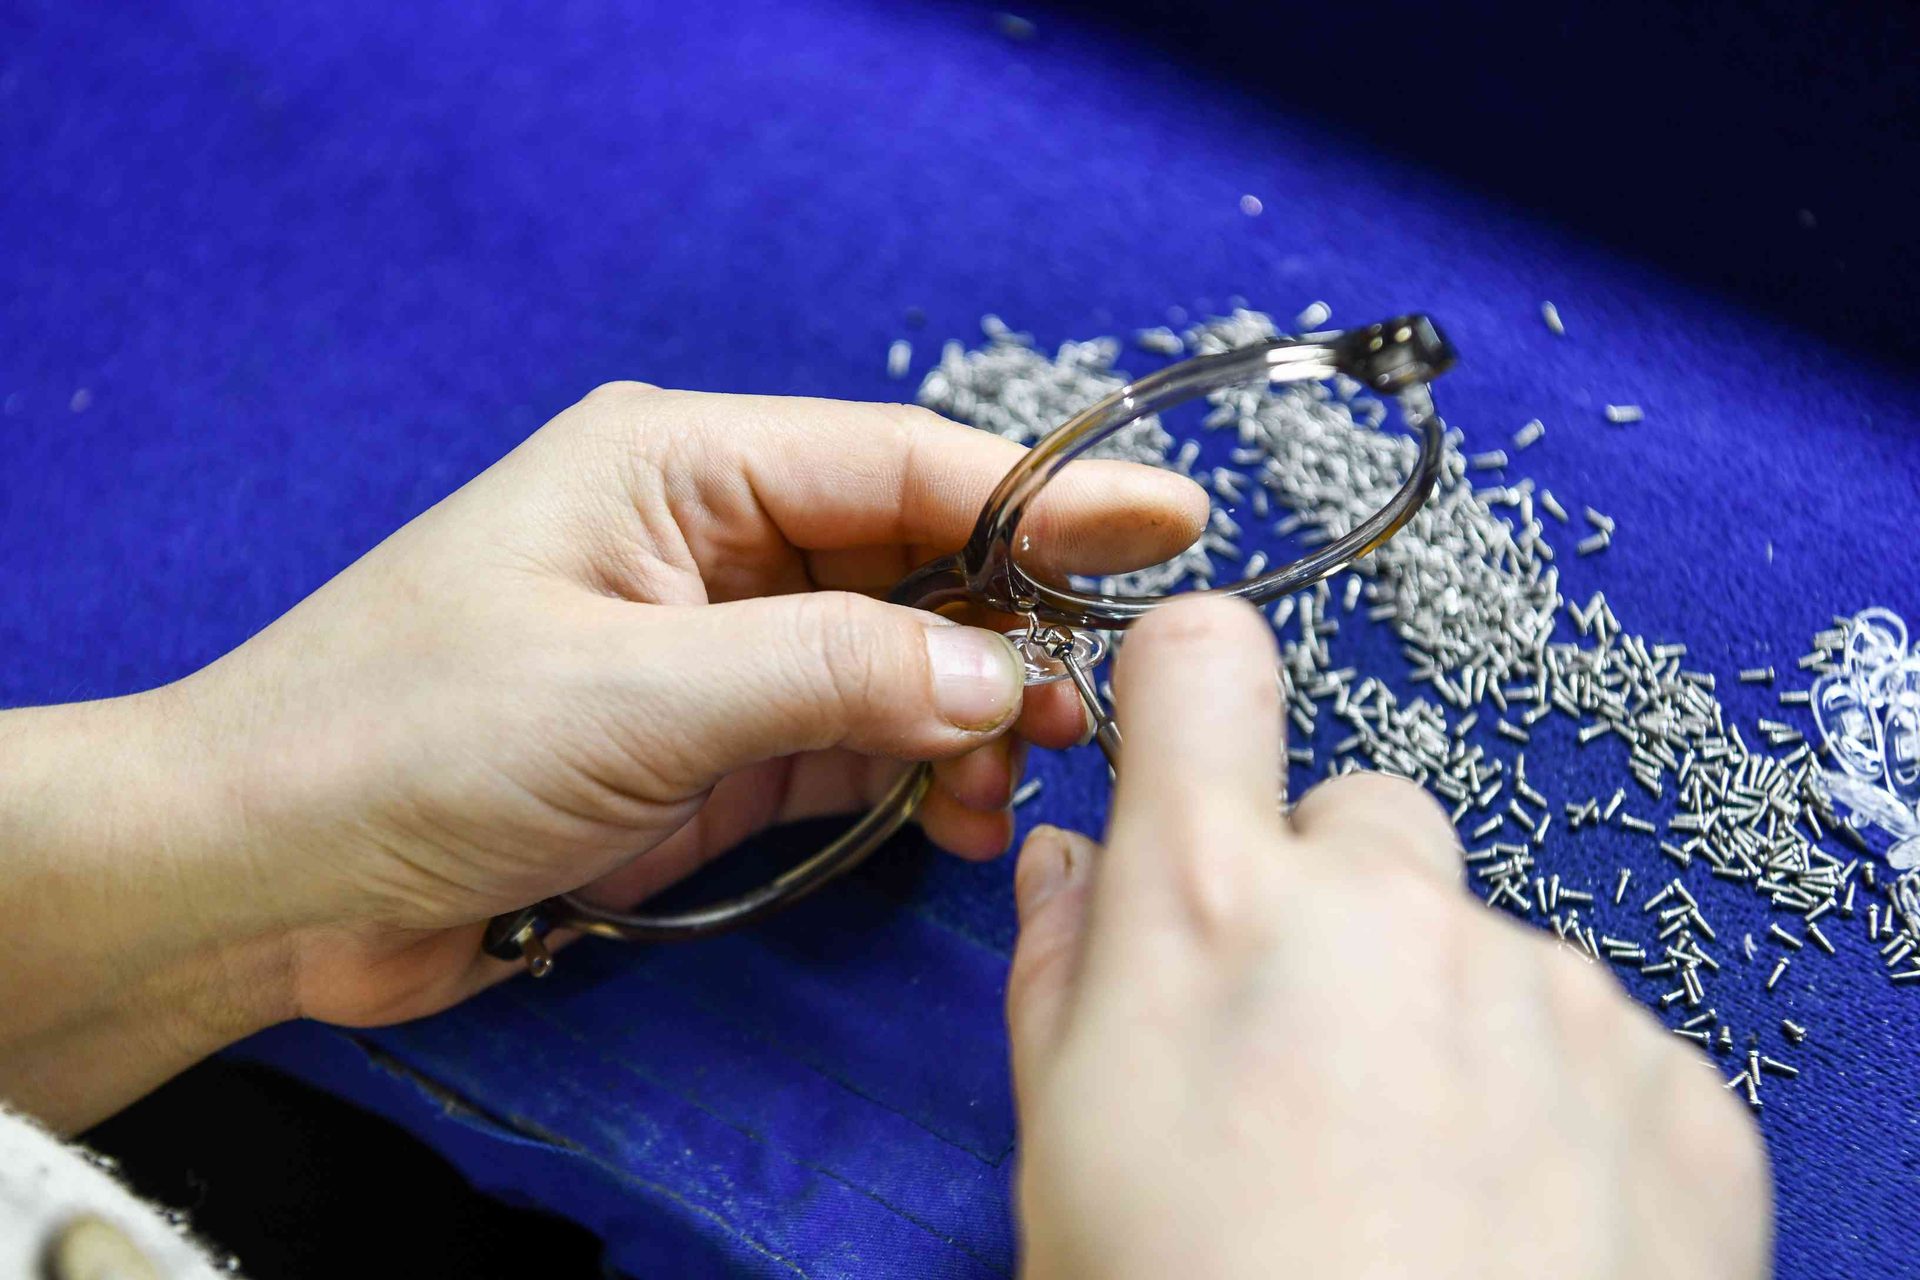
Loose glasses can mean several different things: one temple may wobble, both arms may sit too wide, the frame may slide down your nose, or a lens may move inside the rim. Each problem needs a different fix. Tightening every screw—or bending the frame at random—can make the real problem worse.
Quick answer: find the source of movement before adjusting anything. A wobbly standard hinge usually needs its screw tightened with a precision screwdriver. A sliding frame may need clean nose pads, a small nose-pad correction or a temple-fit adjustment. Stop and visit an optician if a lens is loose, a screw spins without tightening, the spring hinge has failed, the frame is cracked, or the material is delicate or unknown.
Diagnose loose glasses in 60 seconds
| What you notice | Likely cause | Best first action | DIY risk |
|---|---|---|---|
| One arm wiggles sideways at the hinge | Loose or worn hinge screw | Check and gently tighten the screw | Low if the screw and hinge are undamaged |
| Screw turns but never becomes snug | Stripped screw or hinge thread | Stop; replace the matched component | High |
| Spring-hinge arm opens too easily and does not return | Internal spring or housing failure | Professional repair or hinge replacement | High |
| Both arms sit wide but hinges feel firm | Temples have spread or frame is too wide | Verify size; have temple angle and tips adjusted | Medium to high |
| Frame slides down but arms are stable | Nose pads, bridge fit, temple-tip bend, weight or skin oil | Clean contact areas, then inspect fit | Low to high depending on frame |
| One lens sits higher than the other | Frame twist, unequal temple height or ear asymmetry | Professional alignment is safest | Medium to high |
| Lens clicks, rotates or lifts from the rim | Loose eyewire screw, damaged rim, cord or lens edge | Stop wearing it and see an optician | High |
This diagnosis-first structure matters. A hinge screw controls movement at the joint; it does not make a wide bridge narrower or correct an oversized frame. If the basic eye–bridge–temple dimensions are wrong, use the eyewear size guide to understand the mismatch before trying another adjustment.
What you need before tightening glasses
For a simple hinge-screw check, prepare:
- a clean, well-lit table;
- a folded microfiber cloth or soft towel;
- a precision eyeglass screwdriver that fully fits the screw head;
- clean hands and your backup glasses, if you need vision correction to see the screw.
Work over the cloth so a screw cannot bounce away and the lenses are less likely to be scratched. Do not substitute a knife tip, scissors, tweezers or a mismatched screwdriver. Do not apply superglue, threadlocker or nail polish: liquid can enter the hinge, damage a finish and obstruct a proper repair.
Step 1: Tighten a loose hinge screw
This is the safest useful home repair for a conventional barrel hinge.
- Open the temple and place the glasses on the cloth with the screw accessible.
- Support the frame close to the hinge instead of pressing on a lens or thin rim.
- Seat the correct screwdriver fully in the screw head.
- On a conventional screw, turn clockwise in a very small increment.
- Fold and unfold the temple to test it. The movement should be smooth and controlled, not floppy or locked.
- Stop when the screw is snug. More force is not better.
If the screwdriver slips, the screw head is damaged, the screw spins without becoming snug, or the temple still has side play, stop. The screw may be the wrong size, its thread may be stripped, or the hinge barrels may be worn or spread. A standard barrel hinge is serviceable, but only when the replacement screw matches the hinge.
What if the screw is missing?
Do not insert a sewing needle, staple, paper clip or random repair-kit screw. Diameter, length, head and thread must match. An incorrect part can damage the hinge or project far enough to scratch skin. Keep the glasses folded in a case and have an optician fit the correct part.
Step 2: Clean the areas that control grip
Sometimes glasses feel loose because skin oil, sunscreen or makeup has reduced friction rather than because the frame has changed shape. Clean the nose pads, bridge and temple tips using the care method recommended for your lenses and frame. A clean microfiber cloth is the safe default; avoid household solvents and abrasive paper products.
Put the glasses back on after cleaning. If the frame now stays in place and the hardware is firm, no mechanical adjustment is needed.
Step 3: Check adjustable nose pads
On many metal frames, separate nose pads sit on thin metal pad arms. If the pads have spread slightly, the frame can sit lower and slide.
- Move each pad only a tiny amount toward the other.
- Keep the pair level and symmetrical.
- Make sure the broad pad surfaces rest flat against the sides of the nose rather than touching on an edge.
- Test after every small change; stop if an arm resists, twists or shows a crack near a solder joint.
Moving pads too close can create pressure marks and does not solve a bridge or frame that is fundamentally too wide. Solid acetate and injected-plastic bridges do not have adjustable pad arms. Adhesive pads can provide temporary grip or reduce effective bridge space, but they change the fit and need regular replacement. Our guide to eyewear nose pads explains why pad shape, spacing and angle work as one system.
Step 4: Decide whether the temples need adjustment
If the screws are snug but both temples flare outward, the frame may have spread through one-handed removal, heat, storage without a case or simply an unsuitable size. The correct adjustment depends on the material and on where the bend is needed.
Metal frames
Some conventional metal temples tolerate small, controlled corrections. Support the frame and change the temple or earpiece curve in tiny increments; do not twist the hinge or squeeze the front. If you cannot identify the alloy, or if the metal feels springy rather than formable, use an optician.
Acetate and other plastic frames
Plastic should not be bent cold. Professional frame warmers deliver controlled heat to the intended area. If you choose to make a minor temple-tip correction at home, use warm—not boiling—tap water on the temple tip only, keep the lenses dry, and stop if the material does not become slightly pliable. Avoid open flame, a heat gun and concentrated high heat. The safest route is still a professional adjustment, especially when the material is TR90, memory plastic or unknown.
Rimless, semi-rimless and specialty materials
Do not bend rimless, semi-rimless, drilled-lens, titanium, memory-titanium or aluminum frames at home. Force can transfer to a lens hole, cord, solder point or brittle component and cause damage that is more serious than the loose fit.
Step 5: Test the fit without making it too tight
After one adjustment, put the glasses on normally and check four things:
- The bridge and pads make even contact without pinching.
- The temples touch the head lightly and do not create pressure at the sides.
- The tips follow behind the ears without digging in.
- The frame stays reasonably stable when you look down and turn your head gently.
Secure does not mean clamped. Making the temples squeeze the sides of the head can push a frame forward rather than stop it sliding. If you use progressive or other position-sensitive lenses, professional alignment is especially useful because frame height, tilt and distance from the eyes affect the intended wearing position.
Quick fixes that do not repair the cause
Silicone temple sleeves, ear hooks, a sports strap or eyewear wax can improve short-term grip. They may be useful while traveling or before an appointment, but they do not repair a loose screw, failed hinge, wrong bridge or distorted frame.
Avoid these common shortcuts:
- glue or nail polish on a hinge screw;
- a pin, wire or toothpick in place of a screw;
- pliers directly on a finished frame;
- boiling water, open flame or a heat gun;
- bending the bridge of a plastic frame;
- tightening a rim screw while the lens is visibly displaced.
When to stop and see an optician
Professional adjustment is the right next step when:
- a lens moves, clicks or begins to leave the rim;
- the frame, hinge or solder joint is cracked;
- the screw is missing, stripped, seized or repeatedly loosens;
- a spring hinge does not return normally;
- the frame is sharply twisted or one side sits far higher;
- the glasses are rimless, semi-rimless or made from a specialty material;
- the fit problem began after an impact;
- the glasses remain loose after the hardware is secure;
- adjustment produces persistent discomfort, blur or a noticeable change in how you see through the lenses.
Many optical shops have the tools to align a frame and match small hardware. Service availability, warranty coverage and fees vary, so contact the original seller or a local optician rather than assuming a particular policy.
Why glasses become loose—and how to prevent it
Normal opening and closing can gradually change screw tension. Pulling glasses off with one hand loads one hinge more than the other; wearing them on top of the head spreads the temples; sleeping in them or storing them loose in a bag can twist the front. Heat inside a parked car can also change some frame materials.
To preserve the adjustment:
- use both hands to put glasses on and remove them;
- store them folded in a protective case;
- keep them away from high heat;
- clean contact areas regularly;
- check for hinge play before the screw is nearly out;
- arrange a fit check when the frame starts sliding rather than forcing it back into shape repeatedly.
What loose-glasses complaints mean for eyewear brands
For an eyewear buyer, repeated “loose glasses” returns are not one defect code. They may trace to screw retention, barrel fit, spring-hinge fatigue, temple splay, bridge geometry, pad-arm symmetry, material setting or inconsistent final alignment.
An OEM quality plan should therefore define hinge components and opening feel, finished frame width, temple angle, nose-pad position and alignment against an approved sample. Include those checks in the pre-shipment inspection checklist instead of relying on a single visual inspection.
If you are developing an optical, sunglass or reading-glasses collection, discuss your OEM/ODM eyewear project with the intended wearer, frame material and after-sales repair plan before hardware is locked.
Sources and review note
This guide was reviewed against current consumer adjustment guidance from Warby Parker and All About Vision. Frame constructions vary, so the instructions above prioritize reversible steps and professional adjustment when material or damage is uncertain.