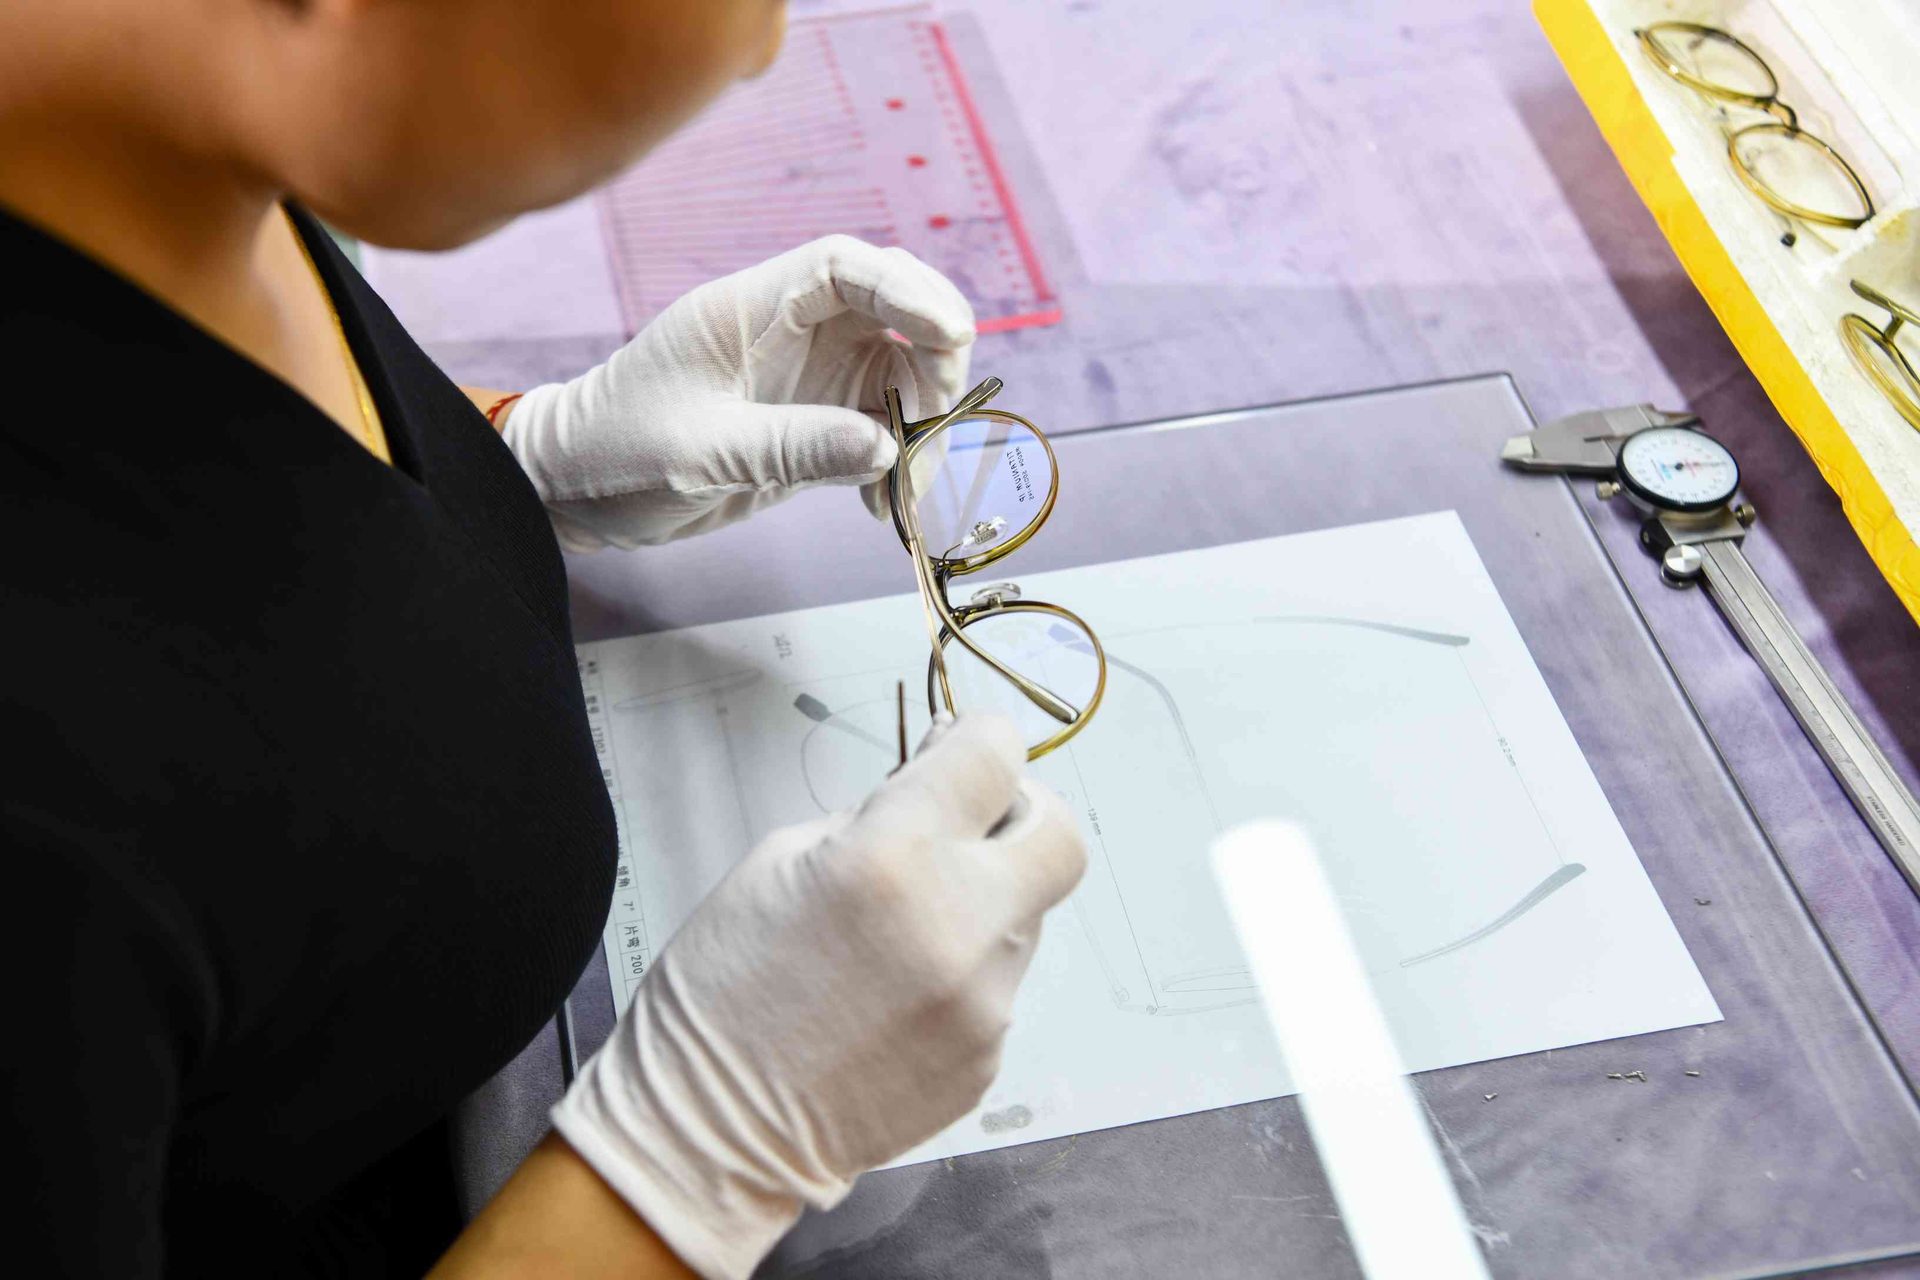
Nose pads influence where a frame sits, how its weight is distributed and whether an optician can adjust the fit. A small component can therefore cause sliding, pressure marks, uneven lens position or avoidable returns when its geometry is treated as an afterthought.
Direct answer: choose the bridge architecture first, then specify the pad mount, shape, size, material and pad-arm geometry as one system. Approve it on finished frames representing the intended wearer group. A material name such as “silicone” is not a complete nose-pad specification.
Integrated bridge or separate adjustable pads?
| System | Typical construction | Main advantage | Main limitation | Best suited to |
|---|---|---|---|---|
| Integrated or molded pad area | Pad surfaces formed in the acetate or injected front | Clean look, fewer parts | Little local adjustment; bridge geometry must be right | Acetate and injection frames with a validated bridge |
| Separate pads on fixed arms | Pads mounted on arms with limited movement | Defined contact surface, replaceable parts | Less fitting range than fully adjustable arms | Designs needing a separate pad but stable geometry |
| Separate pads on adjustable metal arms | Pad boxes and arms can be fitted by an optician | Broad fitting range and serviceability | More parts, assembly controls and finishing risk | Metal, rimless and combination frames |
An adjustable system does not repair a fundamentally wrong frame width, bridge position or weight balance. Start with the eyewear size specification, then use pad geometry for fine fitting.
Screw-in, push-in and slide-on mounts
- Screw-in: a small screw joins the pad to the pad box. Record screw and thread specification, pad-box width and whether the design allows the intended articulation.
- Push-in or snap-in: a shaped stem locks into a matching receiver. Control stem profile, insertion depth, retention and the exact mating part; visual similarity does not prove compatibility.
- Slide-on or clip-on: the pad slides over or clips onto a dedicated mount. Define installation direction, stop position and pull-off resistance with the component supplier.
- Proprietary systems: can support a distinctive design, but replacement stock, tooling ownership and after-sales availability must be settled before launch.
Do not mix a pad and pad arm from unrelated systems without a fit trial. Include the component code and a drawing or approved physical sample in the eyewear tech pack.
Comparing common nose pad materials
| Material family | Typical feel and appearance | Buyer questions |
|---|---|---|
| Silicone | Soft, often clear, with relatively high grip | Which grade, hardness, surface and aging behavior were approved? |
| PVC or other flexible polymer | Available in varied firmness, clarity and cost positions | Which exact formulation and destination-market restrictions apply? |
| Hard plastic or acetate | Firmer contact and crisp cosmetic options | Are edges polished, curvature correct and pressure area sufficient? |
| Metal or metal-capped design | Distinctive premium appearance | Is the skin-contact surface smooth, and is the finish durable and compliant? |
| Air-cushion or multi-part pad | Softer initial compression | Can it retain its shape and attachment after agreed use simulation? |
Material trade names do not establish safety, durability or skin compatibility. Request the material declaration and relevant test evidence for the actual supplied part. Any claim such as “hypoallergenic,” “medical grade” or “nickel-free” needs a defined basis and must comply with the sales market.
What an OEM nose pad specification should include
- Bridge architecture: integrated bridge or separate pad system, plus target wearer and frame use.
- Mounting interface: screw-in, push-in, slide-on or proprietary; include mating dimensions and component codes.
- Pad geometry: length, width, thickness, shape, curvature, orientation and usable contact area.
- Position: pad spacing, height, splay and face angle on the assembled frame—not only on a loose component.
- Material and surface: exact polymer or metal specification, firmness where relevant, texture, clarity, color and finish.
- Service plan: replacement-pad reference, spare quantity, tools and market availability.
- Approval standard: dated finished sample and drawings showing measurement points and acceptable variation.
Treat left and right pads as a paired fit feature. Their symmetry affects both comfort and how the frame appears on the face.
A practical sampling and fit workflow
First, define a wearer profile rather than asking for a vague “universal fit.” Select a bridge concept and prototype the full front. Check where the pads contact, whether lashes or cheeks touch, whether the frame slides and whether lens position remains balanced. Then adjust pad size, spacing, angle or arm geometry one variable at a time.
Review the sample on more than one relevant face; a single internal reviewer cannot represent a market. Record feedback consistently and return annotated front, top and side photos. Once approved, sign the complete frame—not a loose pad—and follow the normal custom eyewear sampling process.
Nose pad quality-control checklist
During incoming and in-process checks, confirm the correct component, clean surfaces, dimensions and compatible mounts. On finished frames, inspect:
- equal left-right position, height and angle against the approved sample;
- secure screws, stems or clips, with no cracking or unwanted looseness;
- smooth skin-contact edges and no sharp pad-arm or solder-area exposure;
- intended articulation without binding or excessive play;
- clean, evenly finished arms and consistent pad color or transparency;
- frame stability on a reference fixture and the agreed wearer-fit review.
Add the relevant checks to the pre-shipment inspection checklist. Test methods and acceptance limits should match the construction and intended use; do not copy a force or cycle count from an unrelated design.
Compliance and after-sales questions
The complete frame—not the marketing name of one pad—must meet applicable product-safety, chemical, labeling and documentation rules. Requirements differ by product type and destination. Confirm the current obligations with the importer, an accredited laboratory or a qualified compliance adviser before production; use our eyewear certification guide as an orientation, not a substitute for market-specific verification.
For a production-ready brief, send HAO Eyewear the frame drawing, wearer market, preferred bridge system and replacement strategy. Discuss your OEM/ODM eyewear project before locking the nose-pad assembly.