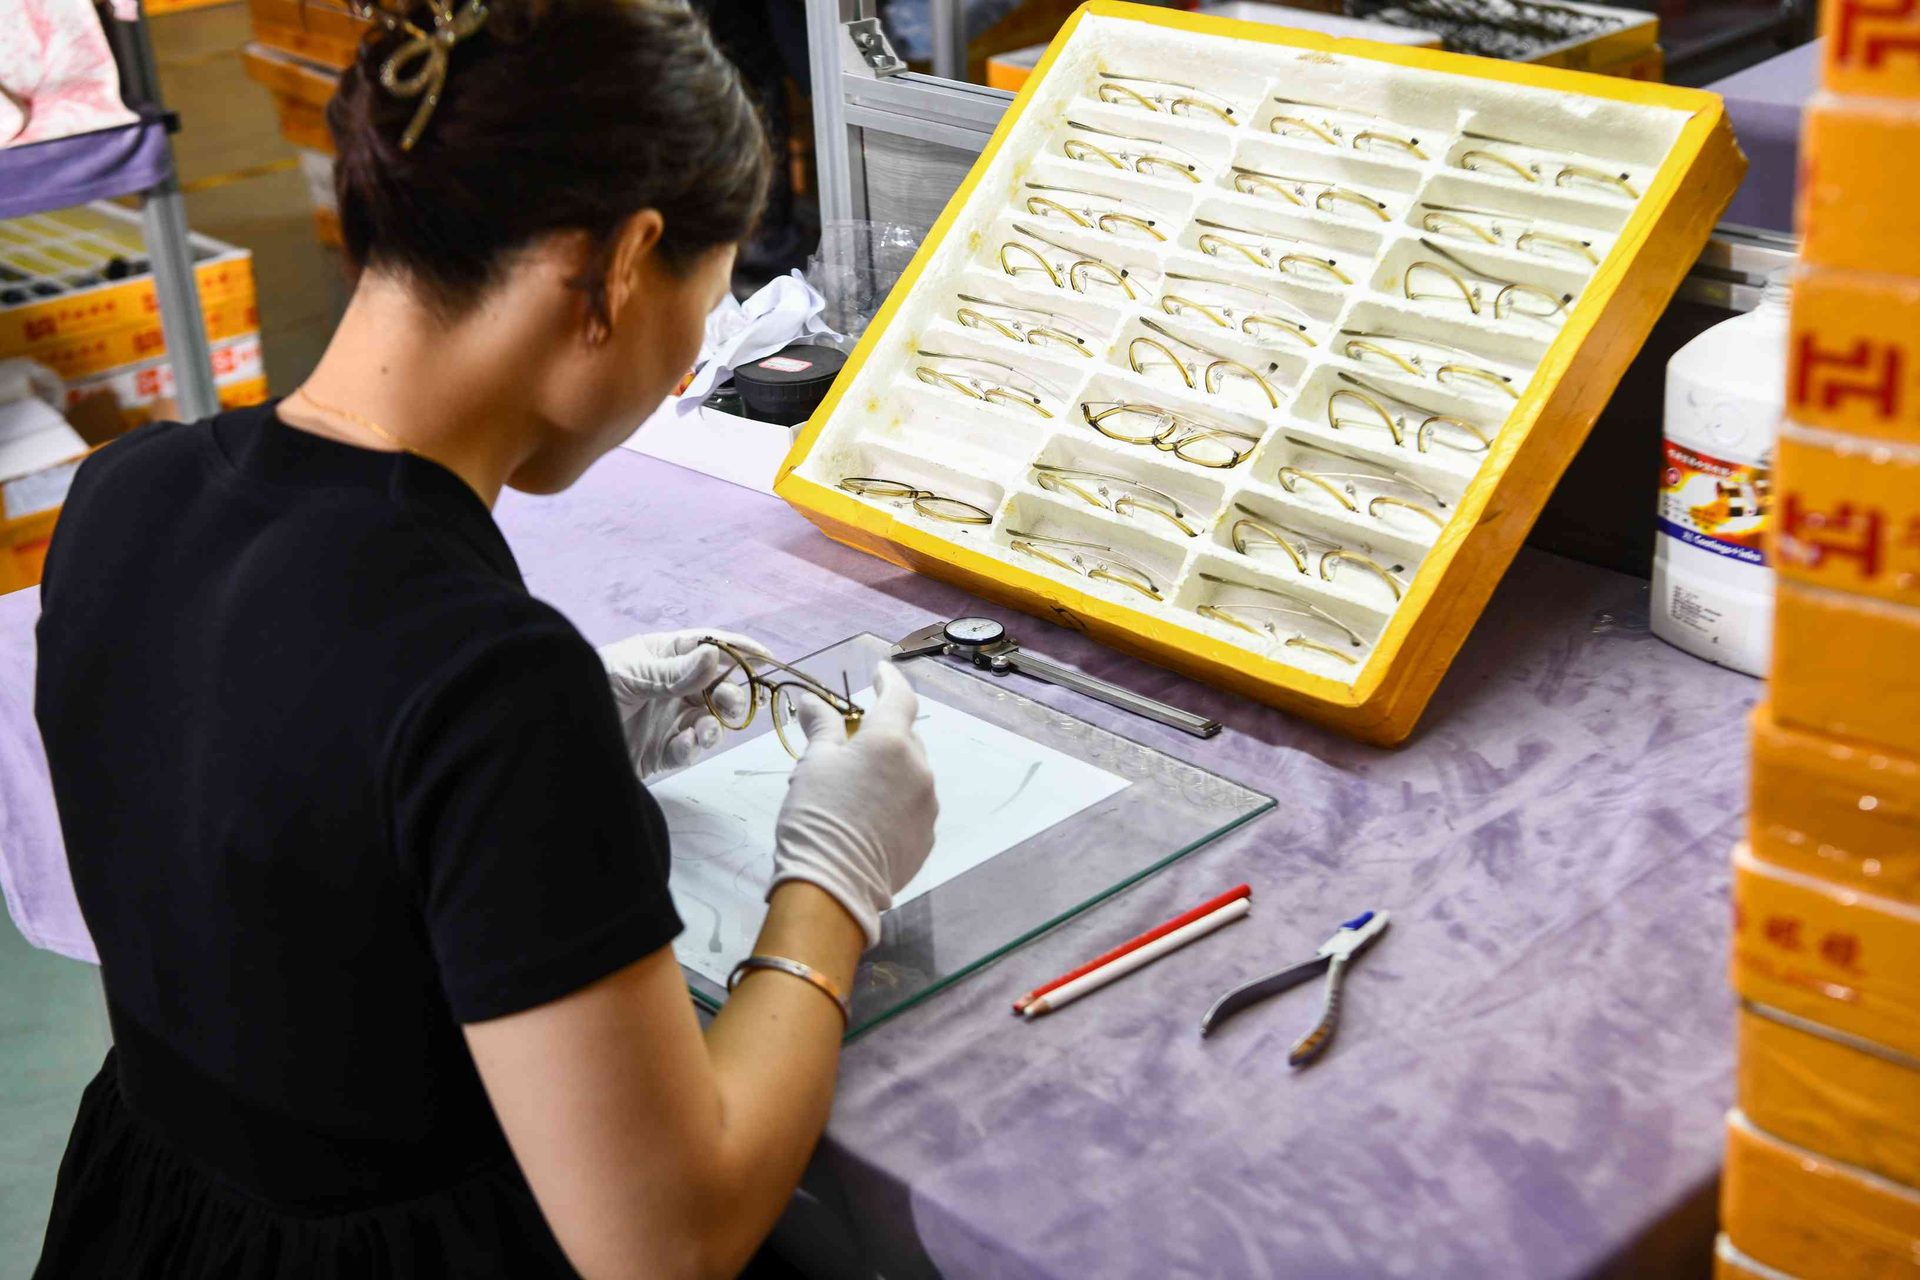
An uncut lens can meet its own specification and an empty frame can pass inspection, yet the finished glasses can still fail if the two are processed as unrelated parts. Edging and glazing are the steps that connect the optical order to the physical frame.
Direct answer: control lens edging and glazing as one traceable manufacturing process. Verify the lens and frame, trace the intended shape, center and block from approved optical data, machine the required edge, mount the lens without harmful stress, align the frame and inspect the completed pair. Do not release production from lens shape alone.
Understand the complete edging and glazing workflow
The names used by laboratories vary, but a controlled job normally contains the following linked stages:
| Stage | Main decision | Evidence to retain |
|---|---|---|
| Order and component verification | Correct lens, frame, side, design and revision | Work order and component traceability |
| Shape acquisition | Actual frame, demo lens, pattern or approved digital shape | Shape source, frame model and revision |
| Centering and blocking | Optical reference position and orientation | Centering record and job data |
| Edging and finishing | Final outline, size and edge architecture | Machine program, first-piece result and inspection |
| Glazing and alignment | Mounting method, load and completed frame geometry | Approved finished sample and release record |
| Final verification | Optical, mechanical, cosmetic and order conformity | Finished-pair inspection result |
A digital file does not remove the need to confirm the physical frame. Material, polishing, coating, assembly and frame adjustment can change the finished groove or opening. Define whether production uses the actual frame, an approved reference, a verified shape file or a controlled combination.
Match the lens edge to the retention system
The full-rim, semi-rimless and rimless guide explains why the lens-retention architecture changes the processing route.
- Full rim: the lens usually needs a bevel positioned to seat in the eyewire or frame groove. Bevel path, size and edge thickness affect fit, appearance and load.
- Semi-rimless or nylor: a controlled groove receives the cord. Groove position, width, depth, continuity and the remaining edge section must suit the approved lens and mounting system.
- Rimless or drill mount: the processed lens becomes a structural part of the assembly. Hole, slot or notch position and finish, hardware stack, bushings and tightening method require a qualified optical and mechanical decision.
Do not assume every lens material, power, thickness or coating is compatible with every construction. Have the responsible optical laboratory define the permitted range and processing instructions for the real product.
Trace the finished frame without distorting it
Shape data can come from a frame tracer, demo lens, pattern or controlled digital source. The method must capture the intended right and left geometry, frame curve and relevant groove information without deforming a flexible frame. High-wrap, thin, asymmetric or hand-finished fronts deserve particular attention.
Compare the traced result with the released drawing and approved sample. If a frame lot shifts, silently resizing the lenses may hide a frame-manufacturing problem and create inconsistent replacement lenses later. Record the accepted frame and shape revision in the eyewear tech pack.
Center and block from the optical order
Blocking fixes the lens to a holder so it can be machined while preserving the selected position and orientation. The operator or automated system must use the correct reference marks and order data for the lens design. Right and left identity, horizontal and vertical position, axis, prism or design-specific references may be relevant depending on the product.
Frame data and optical data perform different jobs. The trace defines the physical outline; the optical order defines how that outline is placed on the lens. Before cutting, confirm that the selected blank provides sufficient usable area for the required shape and position. Escalate marginal layouts to the qualified optical decision-maker rather than improvising.
Control edging, finishing and mounting as one system
Edging may include roughing, finishing, beveling, flat edging, grooving, safety beveling or preparation for drilling. Machine settings, tools, cooling, cleanliness and maintenance must suit the lens material and coating system. The lens coating guide explains why a coating that looks acceptable before cutting still needs evaluation after processing.
After machining, inspect the edge before hiding it in the frame. Check outline, surface, chips, sharp edges, bevel or groove continuity and any drilling features. Clean the lens and mounting surfaces. Use the construction-appropriate assembly method and avoid compensating for a poor fit through excessive heating, force, cord tension or fastener torque.
Approve a production-intent finished pair
Use the custom eyewear sampling process to approve a complete pair, not separate loose parts. A practical release sequence is:
- Confirm released lens, frame, hardware, shape file and work-order revision.
- Trace or retrieve the shape using the intended production route.
- Center, block and process right and left lenses with production equipment and tools.
- Inspect both edges and all grooves, holes, slots or notches before assembly.
- Mount the lenses, align the frame and allow any specified stabilization or conditioning.
- Verify optical order, centration, orientation, retention, cosmetics and frame geometry.
- Seal the approved finished sample and retain the processing and inspection records.
If the frame, lens material, coating, prescription range, shape, base curve, tool, software, processing site or mounting hardware changes, evaluate whether a new approval is needed. The lens base-curve guide covers the geometry that must remain compatible with the frame front.
Inspect bulk production at process and finished-pair levels
First-piece and in-process checks can find wrong shape files, tool wear, drift, edge damage or reversed lenses before a whole batch is mounted. Finished inspection should then confirm:
- correct model, order, lens identity and right-left orientation;
- agreed optical values, reference positions and centration;
- outline, size, bevel, groove, hole and edge-finish conformity;
- full seating, retention and consistent edge reveal;
- no visible chips, cracks, coating damage or harmful mounting stress;
- secure cord, eyewire closure, screws, bushings and other hardware;
- bridge, temple, front and lens alignment after glazing;
- clean surfaces, markings, packaging and traceability.
Add the applicable points to the pre-shipment inspection checklist. A final visual check cannot replace optical verification or process records.
Send suppliers a glazing brief they can execute
For a comparable quotation and repeatable order, provide the frame model and revision, lens design and material, coating, intended prescription or plano scope, right-left data, shape source, frame curve, mounting construction, edge architecture, hardware, cosmetic boundaries, sample stages, inspection responsibilities, records and destination markets. State who owns optical approval and who may change processing data.
Mounted-lens requirements, optical tolerances, product classification, labeling and evidence obligations differ by market and use. Prescription eyewear, sunglasses, readers, children’s products and protective eyewear may follow different rules. Before production, have the responsible importer, qualified optical laboratory or compliance adviser verify the current requirements and test plan for each destination.
Discuss a production-ready lens and frame program with HAO Eyewear.